It’s time to connect with your family and friends. It’s time to sit back, relax, and enjoy the warmth of the fire. Oh yeah, it’s also time of year to roast some chestnuts with your kids on a backyard wood fire pit.
We are fortunate enough to live in an area where we have access to some of the most beautiful parks around. This means that on any given day you can find my family and me out on a walk or enjoying some outdoor activities together.
When I’m not working, you will often find me outside with my kids building things or taking a hike with them through one of many trails that are within walking distance from our house. One thing that has made these times more enjoyable for us is our new DIY paver fire pit! (Also, check out how to build a firepit with bricks.)
The fire pit is just one way that we have found for spending quality time together, especially in the Fall and early Winter months- it’s a cheap way to make an outdoor fireplace!
As a parent, my priorities are to provide my children with the best life and health that I can. I want them to be happy and healthy.
And we love our fire pit. We use it every night when the sun sets, just for laughs usually because it’s so fun. The kids love cooking marshmallows by the fire too!
While building a fire pit (even on grass), there should be no walls that rise more than a foot above the ground. For stability, the wall’s foundation must be buried below ground in a gravel-lined pit for drainage and protection from winter frost heaves. In addition to providing a flat surface for the stones to rest on, the gravel is a filler.
Considering that the average height of a paver block is four inches, building a foot-high wall with two and a half courses below ground and two and a half courses above ground with a cap is a no-brainer.
In this article, we are going to learn how to build a fire pit with pavers. At the end of it, you will be able to build it all by yourself- learn how to bank your fire so that you can keep the blaze going all day and night!
Contents
- Tools required
- The procedure of constructing a fire pit
- Step 1: Make a circle ring on the ground using the stone paver
- Step 2: Trace the ring to mark the location of the fire pit
- Step 3: Create a trench around the traced ring
- Step 4: Fill the trench with gravel
- Step 5: Fill the trench with the first layer of pavers
- Step 6: Begin constructing the pit wall
- Step 7: Fill the first two courses with gravel
- Step 8: Capping the top course of the wall
- In Summary
Tools required
Before beginning the building process, let’s first look at the tools you will need to construct a fire pit.
- Brick hammer
- Cold chisel
- Spade
- Hoe
- Metal rake
- Tamper
- Mallet
- Caulk gun
- A pointed trowel
- Power grinder
The procedure of constructing a fire pit
Here we are going to go through the procedure step-by-step. From foundation to end,
Step 1: Make a circle ring on the ground using the stone paver
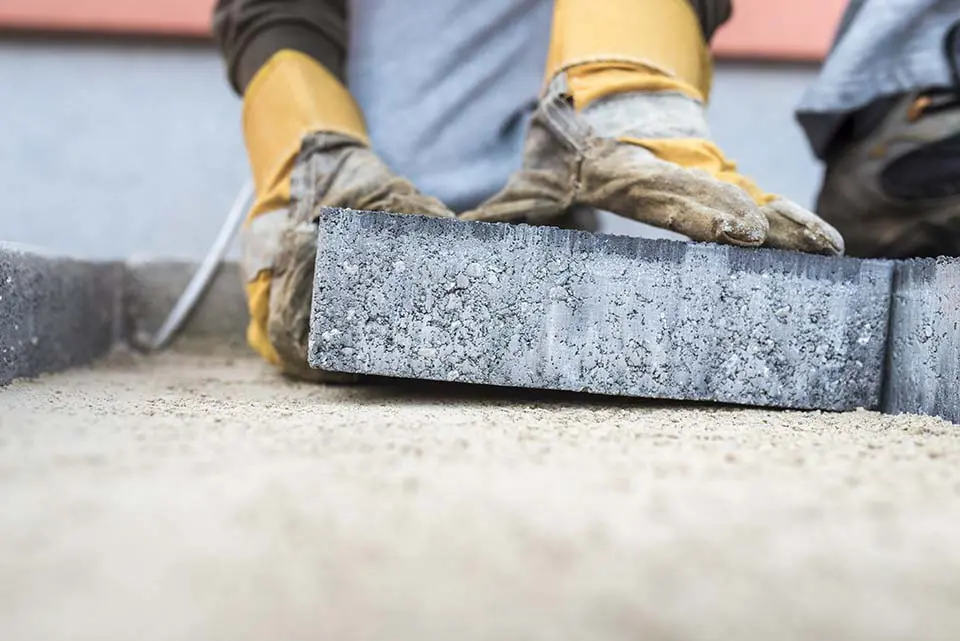
- Place a ring of pavers around the fire pit location and lay them in a circle shape while ensuring their ends are in contact with each other. Use the brick grinder to cut a paver to get the desired shape. Mark the paver width on the bottom by placing it over the open fill.
- It’s time to start scoring the block on the mark using the 3-inch-long cold chisel and a brick hammer.
- Prepare a firm place for placing the pavers. As soon as the chisel is in the scoring line, use the hammer to strike it.
- The tail of the brick hammer may be used to smooth down ragged edges. Insert the carved block into the ring.
Step 2: Trace the ring to mark the location of the fire pit
- Ensure the front and rear edges of the pavers are aligned and that all the paver joints are tight. A spade is used to draw a circle in the ground just beyond the ring’s boundary.
- Remove the stones from the ring, count them, and then put them in a separate container.
- If you’re using interlocking pavers, it’s a good idea to remove any tongues from the bottom of your first-course blocks. The tail of a brick hammer may be used to remove them.
Step 3: Create a trench around the traced ring
- Within the circle drawn on the ground, use a spade to excavate a trench that is 10 inches deep and one block wide. Then, dig the inside part of the trench until it is 7 inches deep.
- Check to make sure that the ring of pavers fits in the trench. Dig up more if it’s too narrow. Removing barriers is necessary.
Step 4: Fill the trench with gravel
- Drainage gravel should be placed in the trench at a depth of 6 inches. Compact the gravel using a hand tamper. Add additional gravel to ensure the trench is even and level.
- To avoid a three-inch gap between pavers, make sure the blocks are precisely aligned as you lay them down. A one-inch discrepancy in the circumference of the circle is due to the poor arrangement.
Step 5: Fill the trench with the first layer of pavers
- The first paver inserted into the ring should be level from front to back and from side to side. Use a 2-foot level to attain this alignment. If the paver is too high, hammer it down using a rubber mallet. If it’s too low, use a few pieces of patio foundation to raise it. Before continuing, be sure that the first paver is precisely level and appropriately positioned in the trench.
- Repeat this process with the second paver. Align the front and rear edges and firmly press the sides together.
- Keep doing this until you’ve utilized every paver until the ring is done. Before going on to the next paver, make sure it is level and aligned with its neighbor. The last paver should be inserted using a mallet. Use a 4-foot level to confirm that the ring is level at regular intervals.
Step 6: Begin constructing the pit wall
- Apply masonry glue using a caulking gun and spill it over two neighboring paver blocks. Glue the two pieces together, and then place a block on top. Ensure the top paver is over the seam of the two bottom pavers.
- Repeat this process until the second layer is done.
Step 7: Fill the first two courses with gravel
- A six-inch layer of gravel will hold together the first two courses as they begin to form up in the pit. As you glue and lay the paver stones, alternate the joints between the third and fourth courses.
- Incorporate the iron campfire ring into the design. To ensure it is level with the wall, adjust it to the proper height.
Step 8: Capping the top course of the wall
- Make a peanut butter-like mixture of dry mortar and the bonding ingredient if you’re working with natural stone.
- An adhesive agent should be applied to the wall. Put down a massive pile of mortar. Use the tip of the trowel to level the mortal and form a groove. Using a rubber mallet, tap the capstone firmly into place and balance it. Continue laying the capstones in this way until the wall is completed.
- Leave the pit to dry for two days before using it.
In Summary
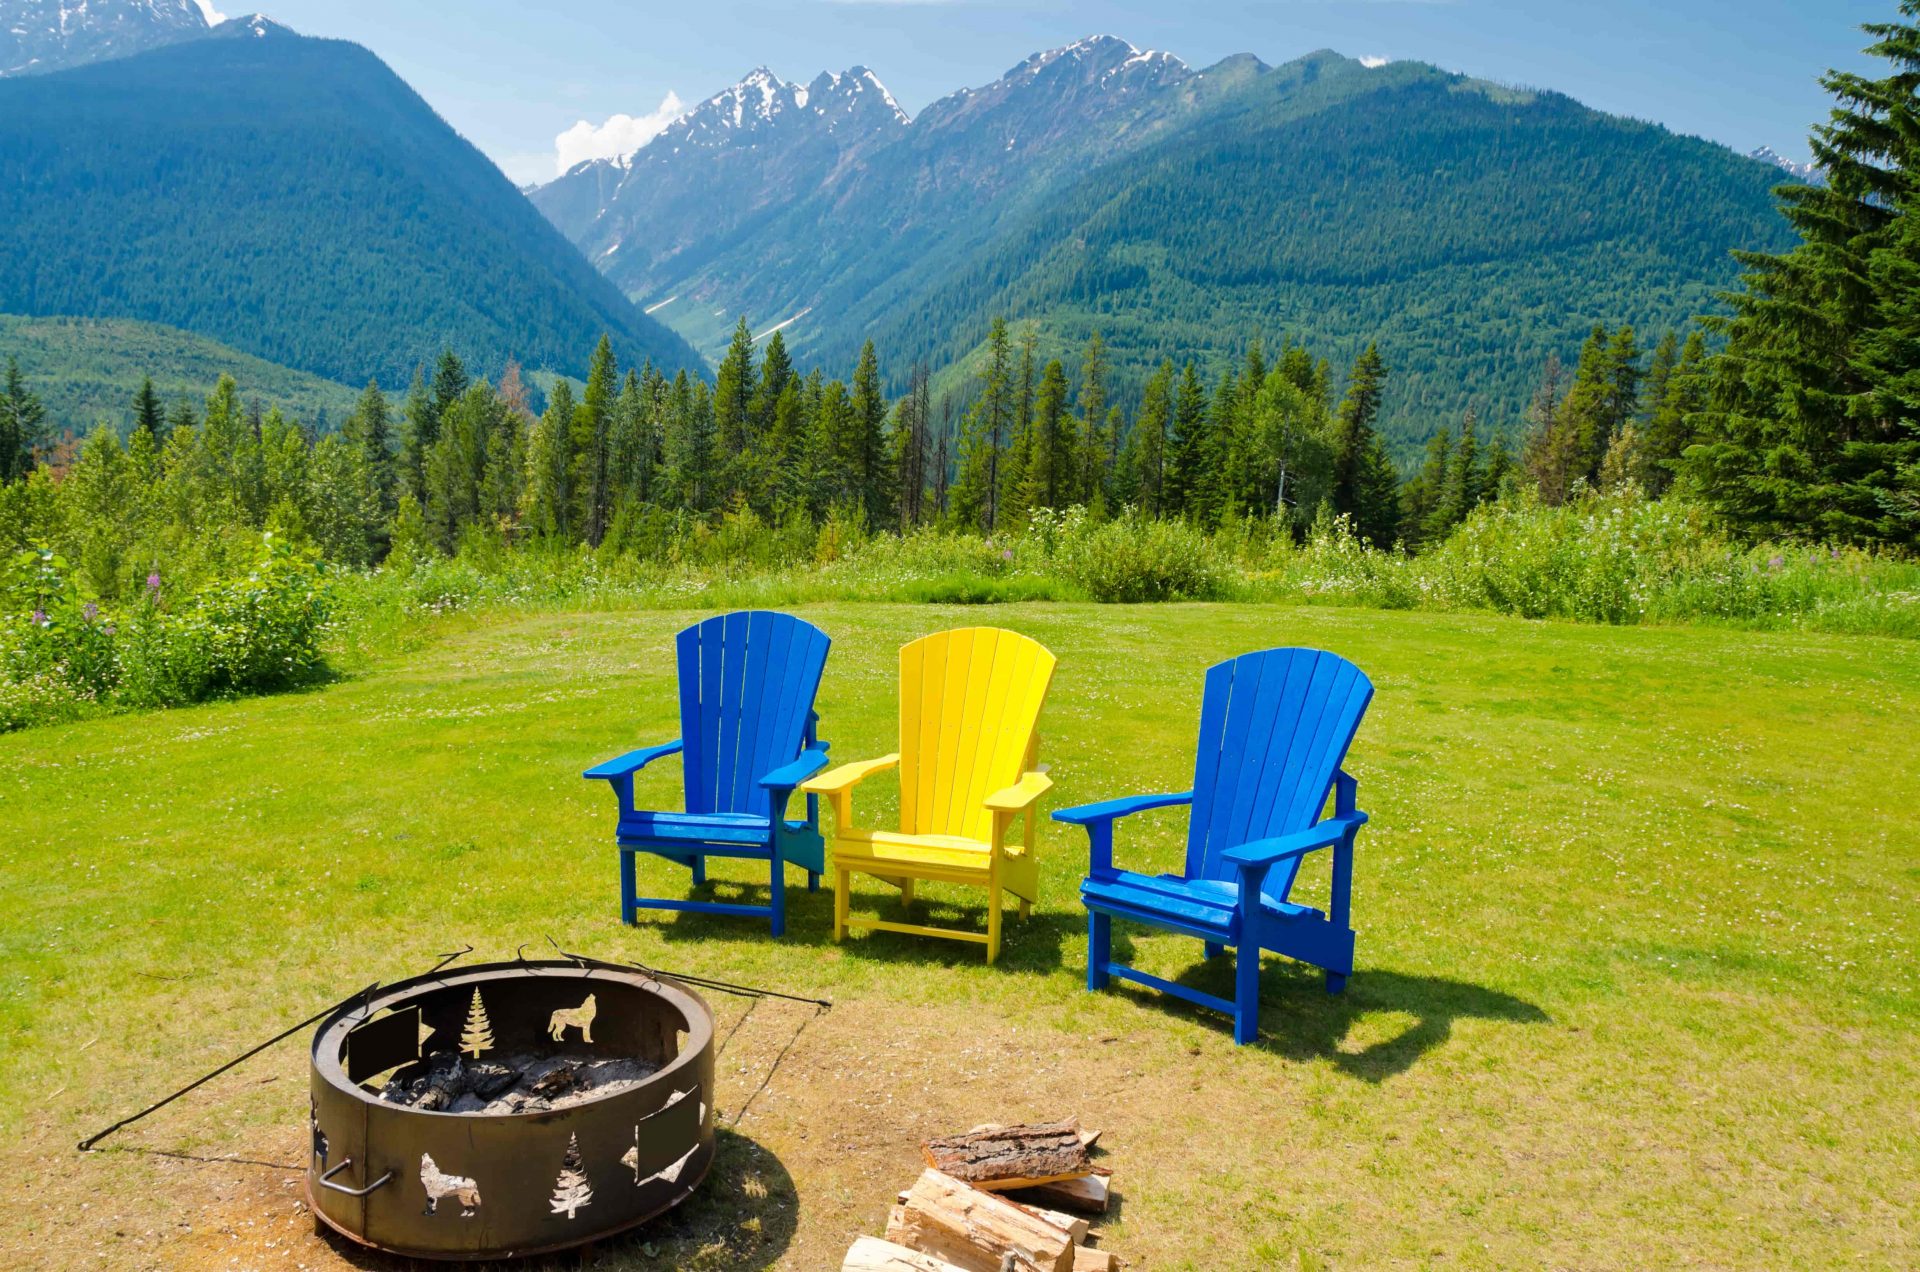
Your paver fire pit is now ready. You can clear the area around the pit where you will be placing chairs. Some people go the extra mile and use concrete to make the site neat. Learn how to start the perfect fire in your firepit, while you’re at it!
Fire pits are common in most homes today because they provide an extra place to chill and catch up with family and friends. It is a basin-like structure built in the backyard of a home for an outdoor fire. It is made using clay bricks, metal, stones, or pavers.

Hi, my name’s Eugene Duke and I love sitting by my fireplace reading a book and sipping on an adult beverage. Do you have a fireplace in your house? I’ll help you figure out the best type and style of fireplace for your home.