Chimney mounts offer several advantages over other antenna mounts, including better signal reception, easy installation, and adjustable sizes. Chimney mounts are also multipurpose and compatible with a variety of antennas.
Here are some installation tips:
- Read the manual before beginning to ensure that you know what you are doing
- Pay attention to weather conditions, as installing an antenna on the roof can be dangerous during bad weather
- Plan installation ahead of time, making sure to have all tools and parts required on hand
- Be aware of your surroundings and access to the chimney, in order to safely install the antenna
- If installing a chimney mount for an antenna, do so when the sun is out and it hasn’t rained or snowed recently
- Be aware of other hazards that come with rooftop antenna mounts, such as hornets or wasp nests, overhanging branches, and precariously overhanging power lines
- Plan the installation by assembling the chimney mount beforehand (if necessary) and strap it in place as high up on the chimney as possible, with the bottom strap four feet below the top strap
Installing a chimney antenna mount was not something I decided to do lightly.
I did a lot of research on the subject and weighed the pros and cons before making my decision.
The biggest benefit of installing a chimney antenna mount is that it’s a very secure way to attach your antenna to your roof. Unlike other methods, like using an outdoor antenna mast, a chimney mount prevents your antenna from wobbling in the wind.
This is important, especially in areas with high winds, like my home in New England.
Another big benefit is that a chimney antenna mount is very discreet. It doesn’t require any additional hardware or antennas sticking out of your roof, which can be unsightly.
The process of installing a chimney antenna mount is relatively simple, but it’s important to be aware of the safety hazards involved.
You should always read the manual before starting any project and make sure you are familiar with the tools you’ll be using.
It’s also important to mind the weather conditions- you shouldn’t attempt to install a chimney antenna mount if it’s raining, snowing, or very windy.
I found the process of installing my chimney antenna mount to be relatively simple.
I followed the instructions in the manual and was careful to take into account the safety hazards involved.
The end result is that I now have a very secure antenna installation that doesn’t detract from the appearance of my home.
The how and why of chimney antenna mount installation
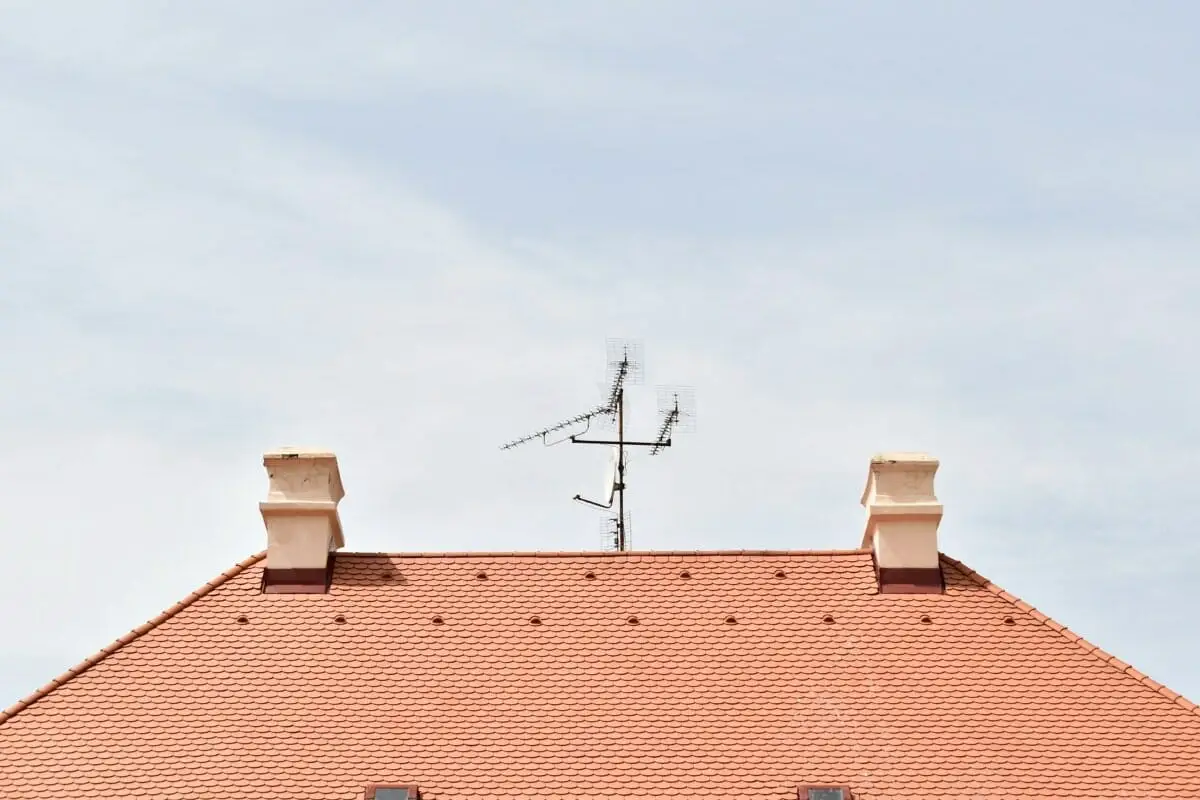
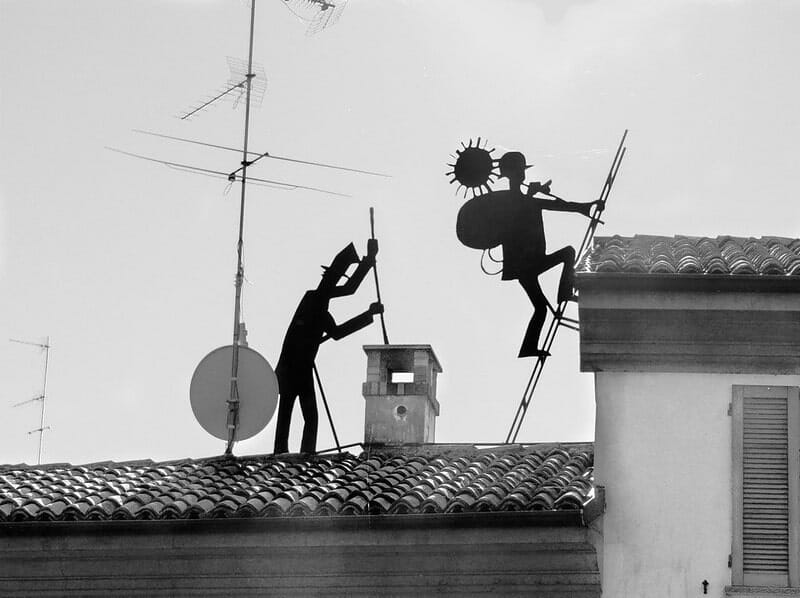
A chimney mount is an antenna mount used for TV and FM reception. They are sometimes called a “cable reel” or “spinner.” They are usually mounted outside, on, or near the chimney of a building, but they can also be mounted to an inside wall.
The aim of installing one is to get the antenna as high off the ground as possible so that it has less chance of being blocked by obstructions such as trees and buildings near your home.
It will also improve reception by reducing electrical noise from power lines, fluorescent lights, and computers.
Materials
- 1” x 2” wood strips, eight feet long
- Metal brackets, four to six inches wide and six to eight inches long
- Copper wire, 20 gauge or heavier (about 10-12 feet)
The work
1. Cut the wood strips to fit around the chimney from top to bottom and a little smaller at either end than where you will leave [it] to cover the brackets.
You can do this with a saw or metal cutting tool such as a tin snip. Leave about 1-1/2 inches of wood at each side of the center bracket to allow for tinning (soldering) over those holes before you attach them.
2. Using the tin snips, cut a couple of small pieces of wood to support where you will solder the brackets.
3. Now put [on] the metal brackets and solder them to the wood strips by this diagram:
4. Take some more wood strips and cut them to fit around the chimney top over these brackets. So, have these two layers (brackets and wood strips), then put on another layer of wood strips or 1” x 2”s from bottom to top outside edge, creating a circle when you put all three layers together.
The second layer is for strength. Then solder or screw all the brackets in place. Putting the brackets in is easiest before you do any soldering or screwing.
5. Now, with your antenna wire, run it from a hole on one side of the top to the hole on the other side through the first layer of wood strips, then through another set of wood strips (and another) until you get to the bottom.
Then solder some more supporting wood strips over those holes and make sure that when you string your antenna wire up, [you] don’t let it hit against anything like pipes or protruding metal parts where it could get damaged.
6. Now cut a length of your antenna wire about 20-24 inches long and in two small solder lugs at the ends, like this:
7. Take one of your brackets and force it through the bottom edge from top to bottom using a hammer and screwdriver. Then in over that hole, too, just as you did in step 5. (You will be soldering or screwing this bracket to the wood strips in step 4.)
8. Bend the bent bracket back into its original shape.
9. Repeat steps 7 and 8 for all the other brackets.
10. Once all the brackets have been screwed or soldered in place, finish up by adding another set of wood strips over them from side to side, then cover this with a final layer of wood strips from bottom to top, as shown in the diagram below:
11. To mount your antenna, cut or buy cable strapping and cinch it around each bracket. You will need to find one of these in a hardware store designed for this purpose. The strapping should be about six inches wide to allow already you to clip it around several brackets at once:
12. Now, you can use a piece of string to hang your antenna from the bracket.
13. You can also mount your antenna on the inside of a wall; it should be at least four or five feet high or higher:
14. If you have a screened metal chimney, do your mounting before you screen it. Otherwise, once it has been screened, it’s probably too hard to remove and install again if you want to change TV stations. (Unless, of course, the screening is serving some other purpose, like blocking bad odors. In that case, you could install it after screening.)
15. There are many other mounting ideas that you can use if you can’t mount on your chimney. For example, if you have an attic with a gable roof, get up as high as possible and push your antenna up as far out through the roof. Also, ensure it is at least 10 feet above nearby trees or buildings.
Conclusion
Now you’re finished! If you want to be able to change channels without changing channels, make sure to plug your antenna into a tuner. This will allow you to simultaneously keep your TV channel scanning feature on your TV and in radio mode.

Hi, my name’s Eugene Duke and I love sitting by my fireplace reading a book and sipping on an adult beverage. Do you have a fireplace in your house? I’ll help you figure out the best type and style of fireplace for your home.
