- Clean the area and make sure it is dry
- Put on a latex glove
- Apply cement to one finger
- Work the cement into the cracked or damaged area
- Gently heat dry the repaired surfaces
- If needed, put more cement on any fire cracks that may appear
When applying fire cement, it is important to ensure that the area is clean and free from any debris. The surface should also be dry in order to allow the cement to adhere properly.
To use, wear a latex glove and put a lot of cement on one finger. Then work the cement into the cracked or damaged area. As soon as possible, gently heat dry the repaired surfaces, gradually raising the heat to full operating temperature over 3-4 hours. If needed, put more cement on any fire cracks that may appear.
Pros and Cons of Fire Cement

The main benefits of using fire cement are that it is durable and can be used to fix a wide variety of damages. However, it is important to note that it is not as strong as the original surface material, so it should only be used as a temporary fix.
Additionally, fire cement can be difficult to work with and takes some time to dry, so it is not recommended for emergency repairs.
How I used it
The joints in my wood stove were starting to leak, so I decided to use fire cement to fix them. I cleaned the area and made sure it was dry, then put on a latex glove and started applying the cement. I worked it into the cracks and gently heated it dry, and within a few hours, it was all fixed!
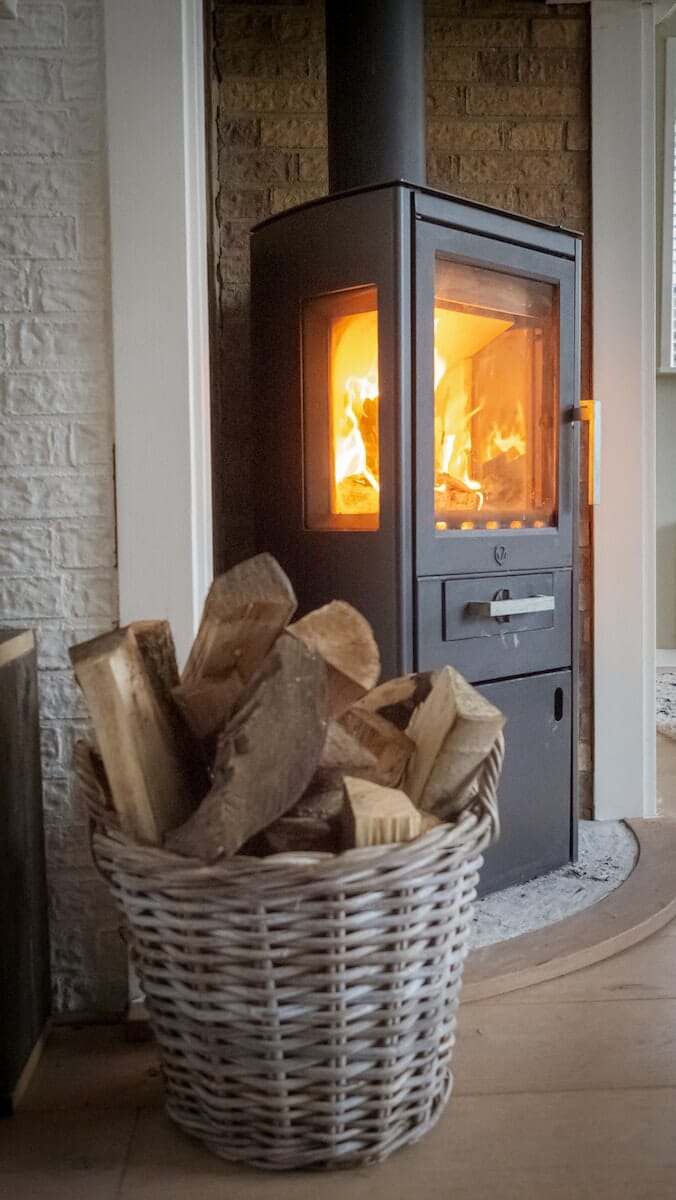
I was really happy with how well the fire cement worked. It was durable and repaired the joints perfectly. Plus, it was really easy to use, which was great. I would definitely recommend using fire cement to fix joints in a wood stove – it’s a great way to keep your stove running smoothly!

Hi, my name’s Eugene Duke and I love sitting by my fireplace reading a book and sipping on an adult beverage. Do you have a fireplace in your house? I’ll help you figure out the best type and style of fireplace for your home.
