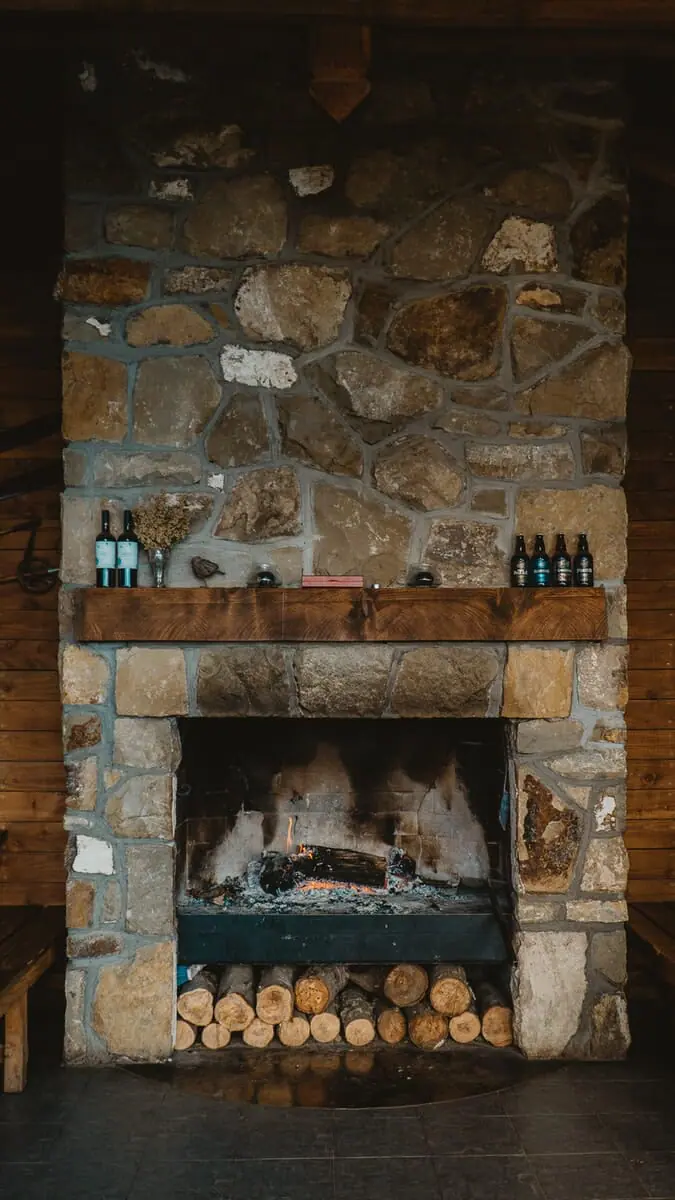
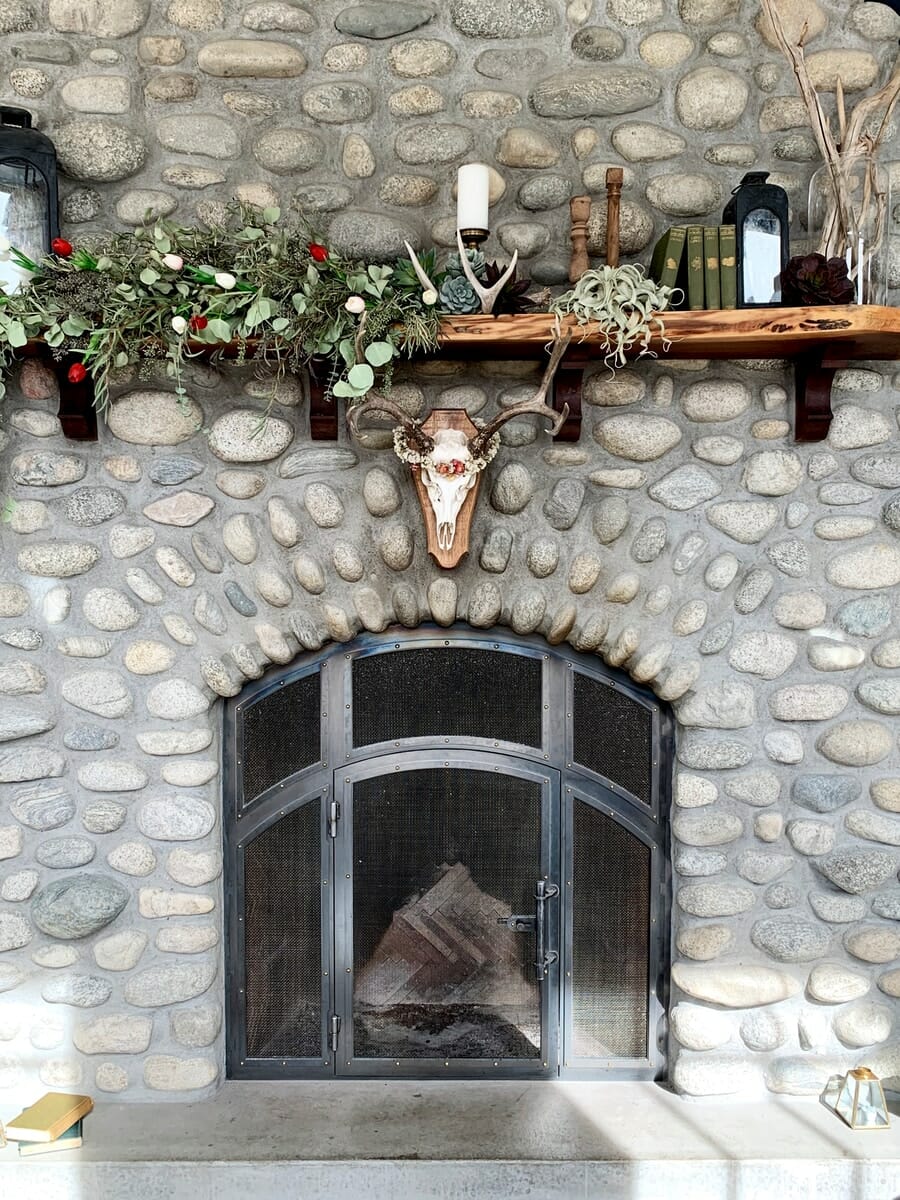
- To install a mantel on a stone fireplace, you’ll need to install a cleat (concrete sleeve anchor) on the stone that will enable you to mount the mantel
- This is a pretty difficult DIY task- it might be best to hire it out to a pro
- Jump down to a video demonstrating the process
- Start by assembling a cleat that will be mounted on the face of the fireplace to accept the mantel. This can be done by cutting the 2×4” material with a miter saw to the dimensions of the mantel. Secure the cleat together using framing screws and butt joints.
- The stone fireplace mantel is a great addition to any home. It can add warmth and character
- By following the steps outlined in this guide, you can easily add a mantel to your existing stone fireplace
- You’ll need to measure and mark your fireplace, install the mantel hardware, cut the mantel material, install the mantel, sand the mantel and apply a stain, and finish the mantel
Contents
How to Add a Mantel to a Stone Fireplace
The fireplace is an essential element of most homes. Not only does it provide warmth and ambiance, but it also gives the home a cozy feel. Stone fireplaces are particularly popular for their rustic charm.
Not only do they help give the home an old-world feel, but they also help keep the home warm.
However, there’s a downside too. They can only be added to an already existing masonry fireplace. If you’re looking to add a mantel to your existing stone fireplace, then you’re in the right place.
Read on for details on how to add a mantel to your existing fireplace, as well as a few tips to help you achieve the look you want.
What materials can you use to add a mantel to a stone fireplace?
Stone fireplaces often have a rustic, stone-like appearance. They’re also quite heavy. Mantels are usually made of wood, metal, or plastic. Wood mantels are the most popular, but metal and plastic mantels are also growing in popularity.
These mantels are usually lighter and easier to install. However, wood mantels are usually cheaper than metal and plastic mantels.
Metal mantels are usually the most durable. They’re also easy to install. However, they’re usually the most expensive. Plastic ones are cheap, but they’re lightweight. They’re also easy to install.
However, they’re easy to damage. You’ll have to be careful because they sometimes crack or warp.
Measure and Mark your Fireplace

The first step is to measure the fireplace to find the perfect location for the mantel. Mark the position of the fireplace.
Also, when measuring the fireplace, make sure you take into consideration any decorative elements that may be placed on the mantel, such as a candle, flower vase, or other decorations.
Now that you have the location, it’s time to mark the mantel location. Start by placing a tape measure on the mantel location, and then moving out to the edges of the mantel. Make a mark at each end of the edge. Once you have the two marks, draw a line connecting the two.
Install the Mantel Hardware

All mantel hardware should be black. It should also match the finish on your stone fireplace. Check the dimensions of the opening first. You don’t want the it to extend into the room.
There shouldn’t be anything behind the mantel that would get in the way. You also don’t want the hardware to be blocking the view from the fireplace into the room.
If your fireplace is rectangular, install the hardware on the top and bottom first. Then, use the it to mark the side of the fireplace. Install the hardware on each side before installing the hardware on the top and bottom.
This way, you won’t end up installing hardware on the wrong side.
To install the mantel hardware, use a hammer and a nail. First, install the longest screws. Then, use the screws to hold it in place. You can also use a screwdriver to tighten the screws so they don’t loosen during use.
Cut the Mantel Material

You can buy mantel material in different lengths. You can also use scraps of material from your mantel project. If you’re adding a mantel to a round or a rectangular stone fireplace, you can cut the material to length.
If your fireplace is circular, you must cut the material to a circular or arc-shaped size.
To cut the material, you can use a circular saw, a handsaw, or a jigsaw. To make cutting the material easier, place the mantel material on the ground. Then, use a chalk line to mark the cutting line on the ground. Place the mantel material on the ground and make the lines with chalk.
If you’re using a circular saw, make sure the blade is set to cut wood. You also have to make sure the saw isn’t set to cut metal. A handsaw is fine to use. It doesn’t have to be a specialty woodworking saw.
Install the Mantel
Use drywall anchors to install the mantel. Drywall anchors have a quick-connect mechanism. It makes it easier to install the anchors and then install the mantel.
Drywall anchors are also easy to remove. They’re a good choice if you’re installing it on plaster or a drywall ceiling.
Always place the mantel material on the ground. Use a chalk line to mark the placement of the mantel on the ground. This way, you won’t place the mantel incorrectly during installation.
To install the mantel, place the brackets on the top and bottom of the fireplace. Make sure the brackets are facing the brackets on the wall. Next, use the bracket screws to connect the brackets to the wall.
Ensure the brackets are connected to the wall and the brackets on the mantel frame.
To install the shelf and rod, use the hardware instructions that came with the rod and shelf hardware.
Sand the Mantel and Apply Stain
Before you apply the stain, smooth out any bumps or creases in the material. This is to make the stain easy to apply. On wood mantels, you can usually skip this step. However, it’s worth mentioning because it makes the stain application process easier.
Before you apply the stain, ensure that the glue in the hardware is dry. You don’t want the hardware to fall off or come loose during the installation process. You also don’t want the hardware to move during the installation process.
Here’s how you should stain a wooden mantel. Start by sweeping the mantel with a tack cloth to remove any dust or lose material. You can also use a vacuum to collect any dust or loose material on the mantel.
Next, carefully place the mantel on top of a piece of cardboard. You can also use a piece of plywood or a piece of 2×4 as a work surface.
Once the mantel is on the cardboard, apply the stain. You can use a brush, a roller, or a paint tray. Make sure you apply the stain evenly. It’s also important to make sure the hardware is dry.
You don’t want the hardware to come loose or fall off during the installation process.
Finish the Mantel
Use a polyurethane finish when you apply finish to a wooden mantel. Before you apply the polyurethane, ensure the glue in the hardware is dry. You don’t want the hardware to come loose or fall off during the installation process.
Summing Up
When you’re done, you’ll have a beautiful mantel that looks like it was custom-made for your home. If you follow these steps, you’ll end up with a beautiful mantel that looks like it was custom-made for your home.
References
- https://www.thisoldhouse.com/fireplaces/21249569/how-to-install-a-mantel-on-a-stone-fireplace
- https://devincicaststone.com/2019/01/23/how-to-install-a-cast-stone-fireplace-mantel/
