- With a little bit of research, a few tools, and a little patience, you can build a beautiful, functional, and sustainable hearth right in your backyard.
- The hearth is one of the most popular features in many homes.
Contents
- Floating Concrete Hearth Plans & Ideas
- Powerful design
- Shelf style
- Basement option
- Massive design
- How to Build a Floating Concrete Hearth
- What You Need
- Step One: Level the Hearth
- Step Two: Lay the Formwork
- Step Three: Cap the Formwork
- Step Four: Set the Forms
- Step Five: Compact the Concrete
- Step Six: Finish the Hearth
- Step Seven: Seal and Finish
- Conclusion
Floating Concrete Hearth Plans & Ideas
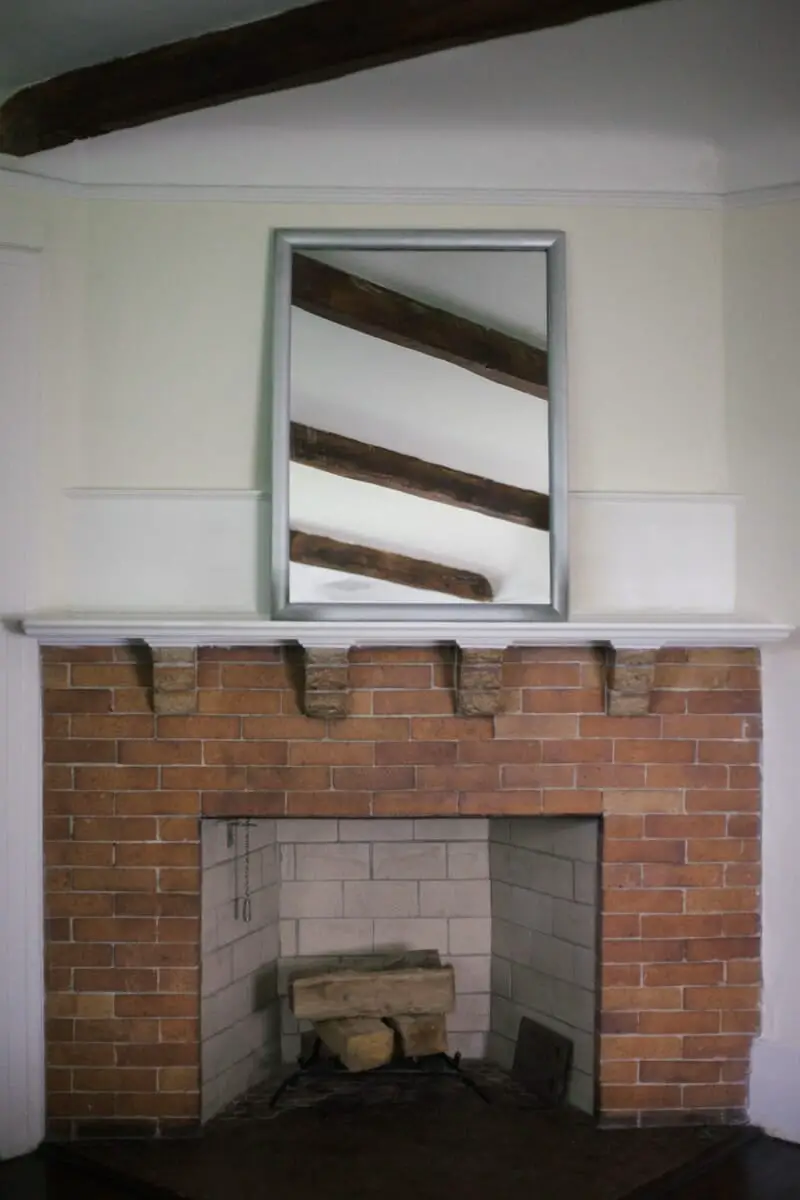
Powerful design
You can create stunning looks with concrete, whether you use natural stone, man-made stone, or even concrete tiles. With so many options available, you’re sure to find a style that suits your taste and your budget.
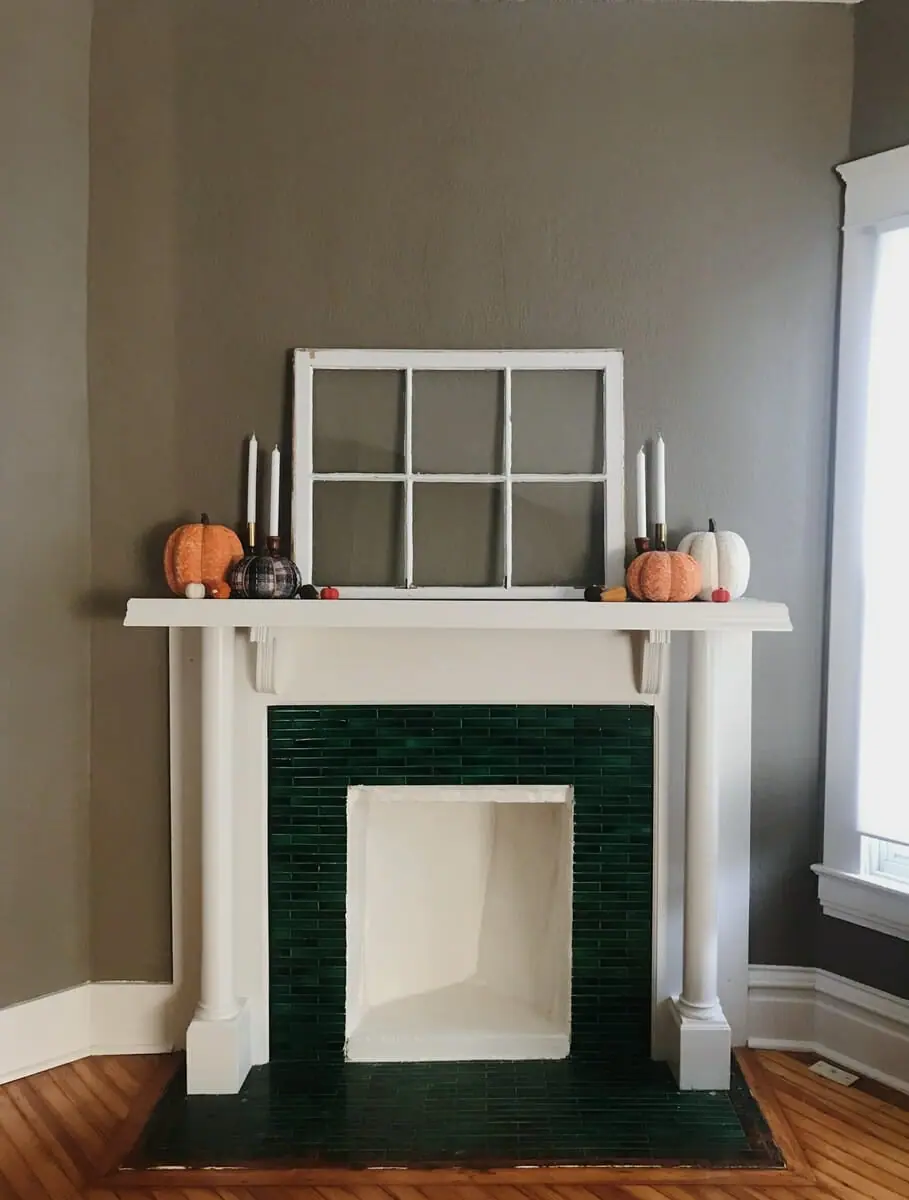
Shelf style
A floating concrete hearth is a great way to add a touch of luxury to your home. They are often installed in living rooms and family rooms, but can also be used in bedrooms and bathrooms.
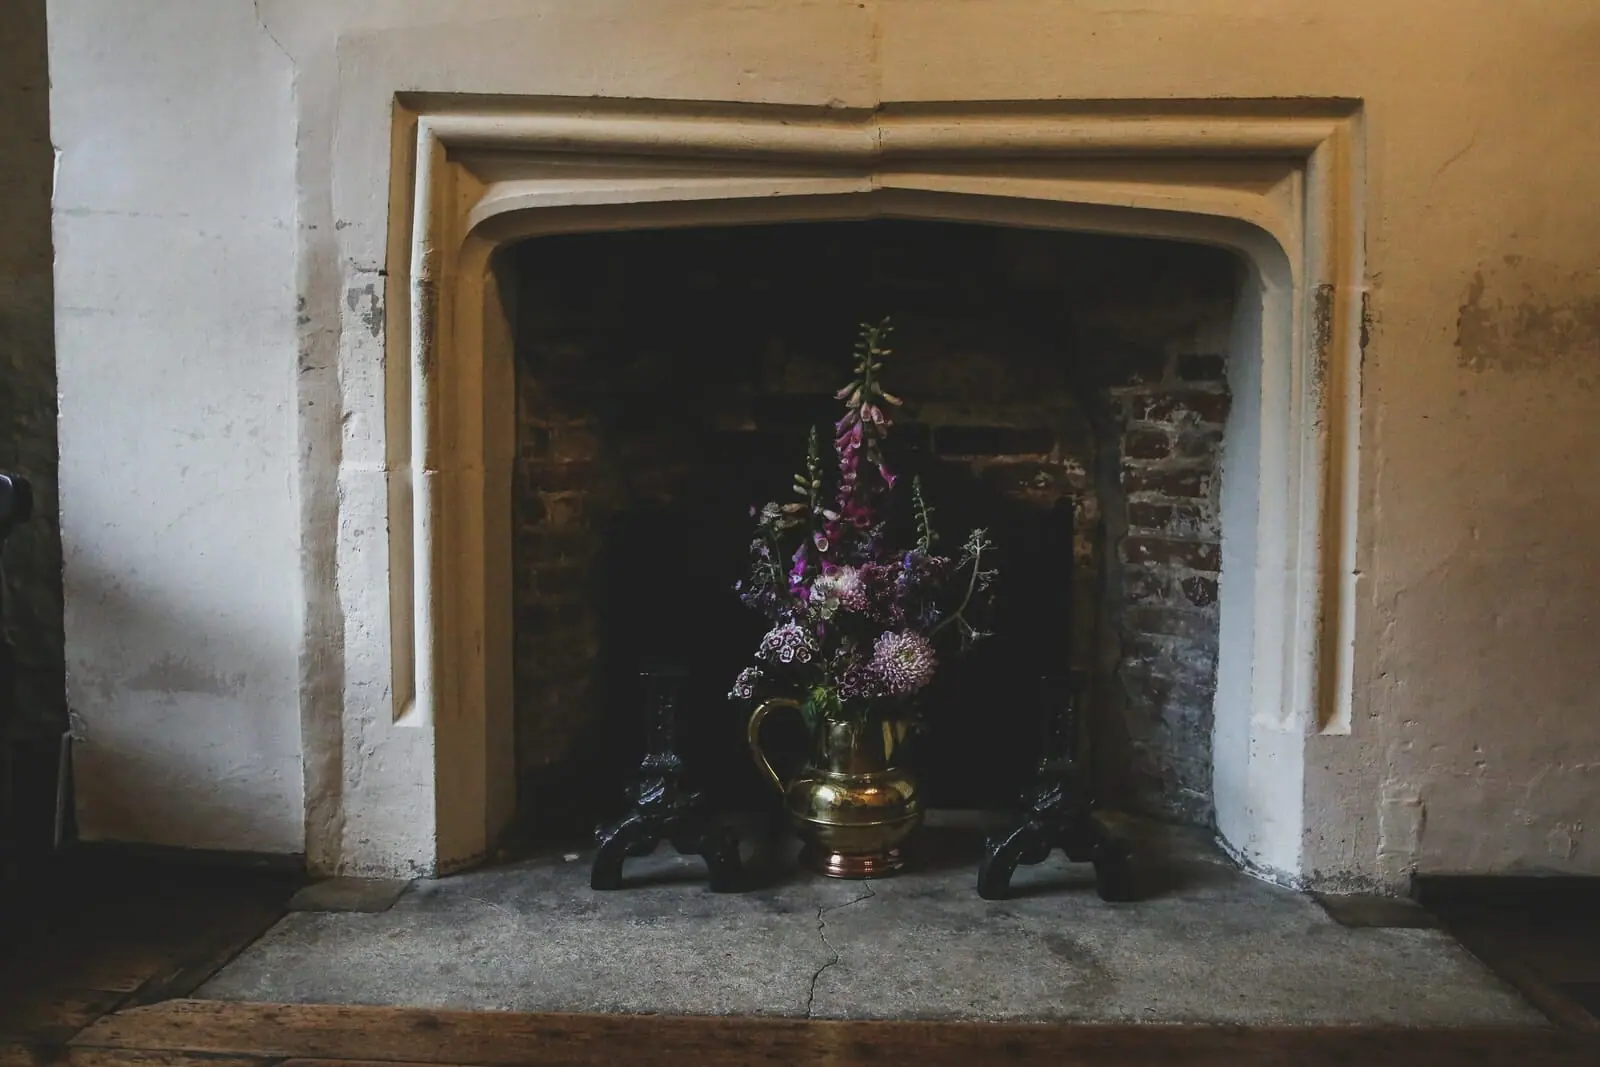
Basement option
You can build them in your basement, living room, family room, or even your bathroom. Concrete as a material is very versatile and can be used in a number of ways to create a one-of-a-kind look for your home.
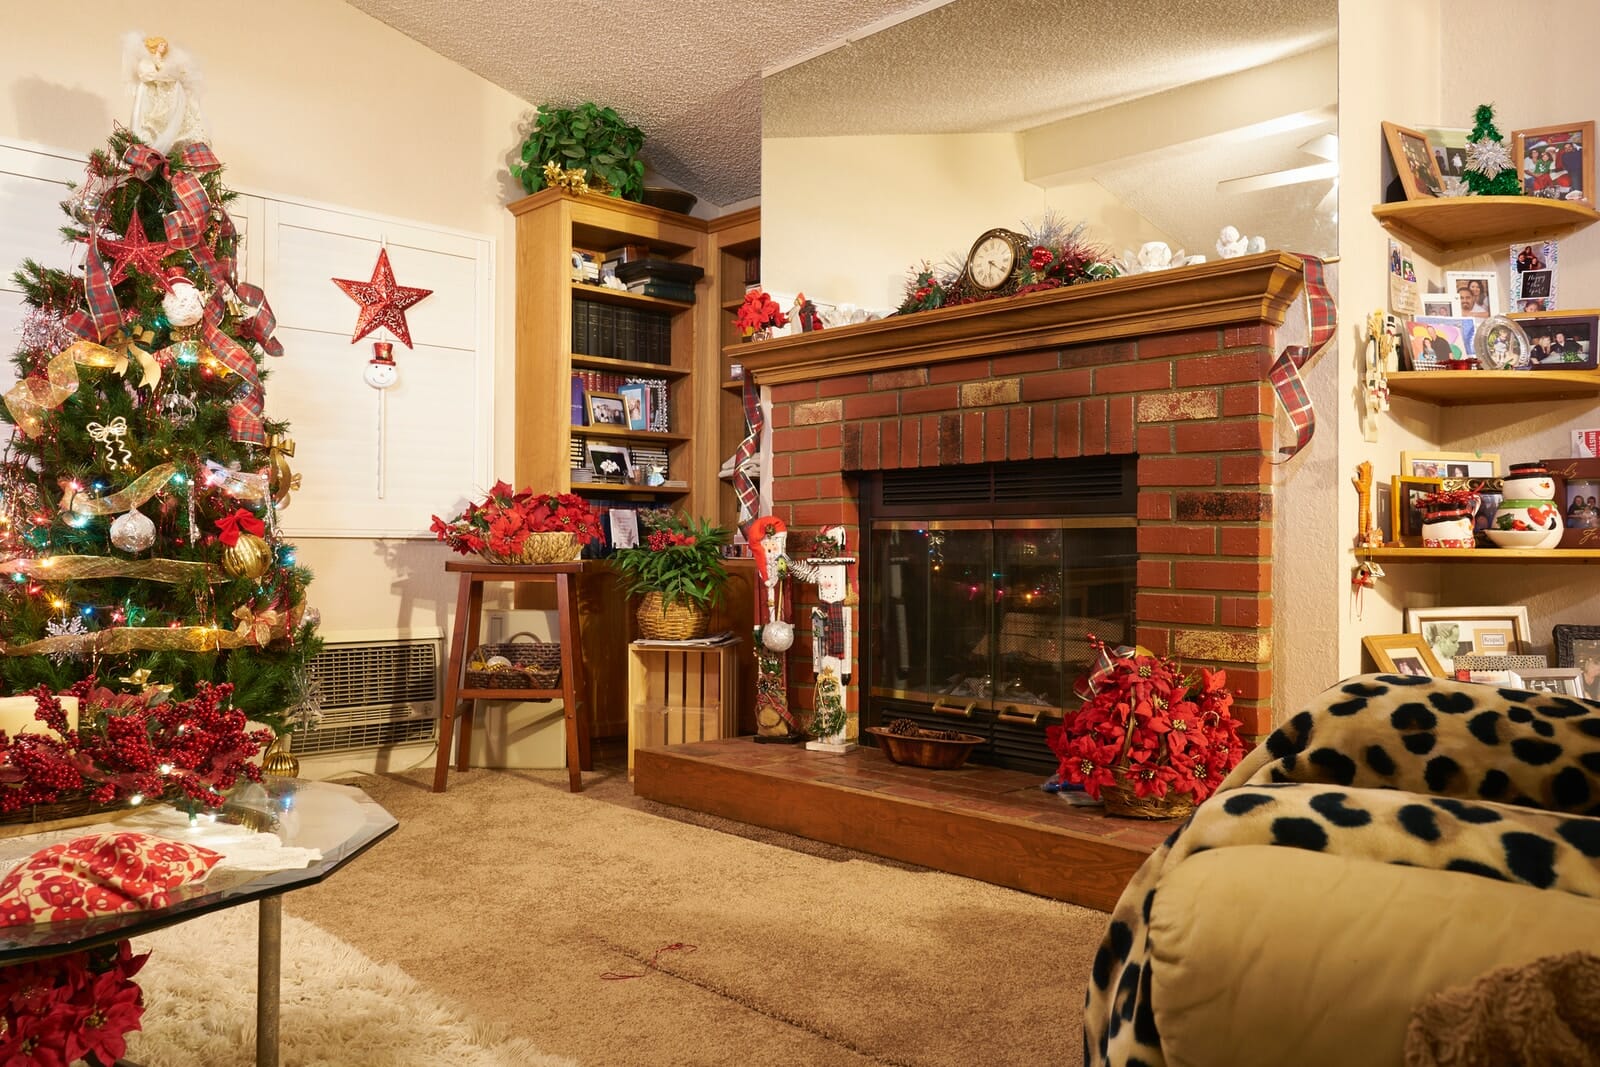
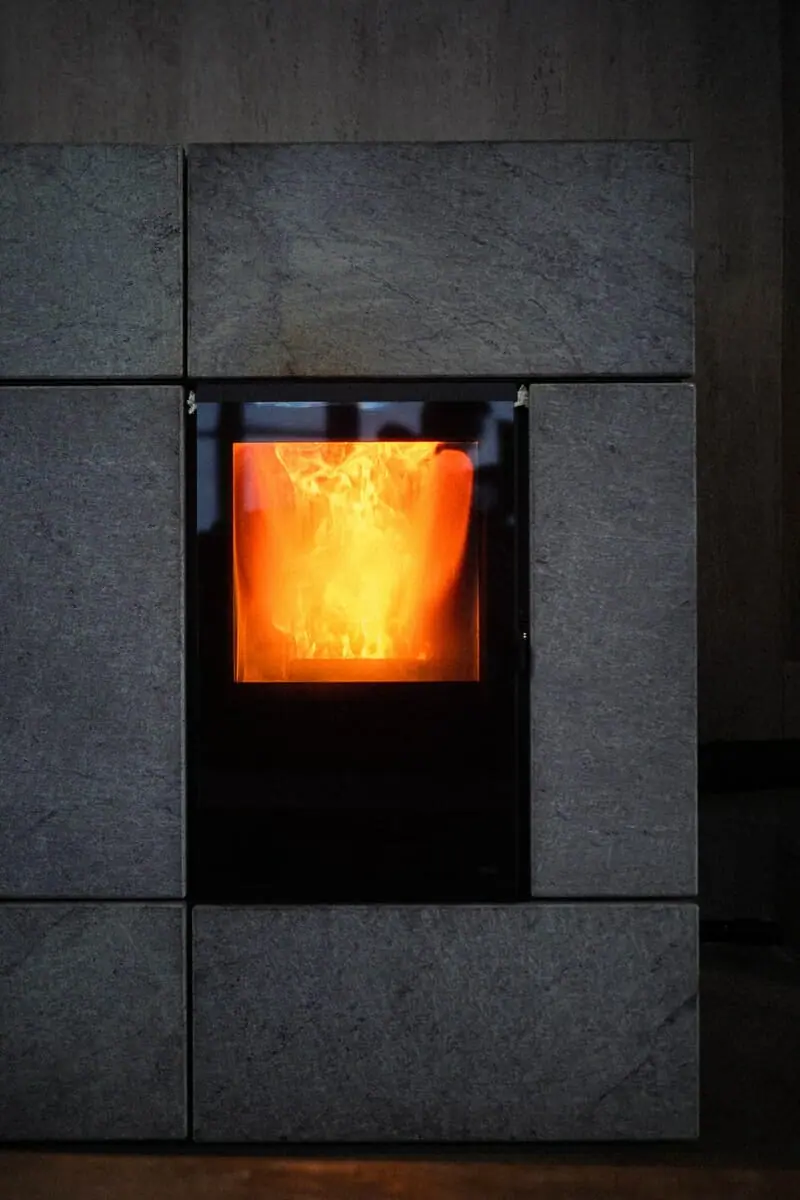
Massive design
If you’re looking for something unique, consider a floating concrete hearth. They offer a luxurious look that will make your home stand out from the rest.
How to Build a Floating Concrete Hearth
When winter hits and the cold sets in, you probably feel the chill creep into your home. A Cozy fire, a glass of wine, and some good company might feel like the perfect remedy for the blues, but it’s not so easy to achieve those cozy surroundings during the colder months.
Even the most seasoned of homeowners might struggle to recreate that feeling of coziness and comfort during the colder months.
However, there are ways to build a floating concrete hearth that will help you achieve that cozy feeling even when the weather is chilly outside. With a little bit of elbow grease and some well-placed concrete, you can create your very own floating concrete hearth.
The hearth is one of the most popular features in homes. It not only provides a cozy spot to hang out with friends and family, but it also creates a focal point in the room that draws the eye and creates a sense of warmth.
If you’re looking to add a bit of coziness to your home this winter, follow along to learn how to build a floating concrete hearth.
What You Need
- Concrete Mix – This is the main ingredient of your concrete. It’s available in both bagged and bulk form.
- Concrete Mixing Pad – A concrete pad is essential to create a smooth surface to lay your formwork.
- Concrete Screeds – Screeds are used to help level concrete and to keep it pressed firmly against the concrete pad.
- Heat Gun – A heat gun is used to help seal and finish the concrete after it’s completely cured.
- Hand Trowels – Trowels are used to help break up concrete and to smooth it out.
- Chisel – A chisel is used to help break up concrete and to make sure your forms are level.
Step One: Level the Hearth
Level your ground and set aside a space in your yard that is large enough to accommodate the hearth. You can level the ground by digging it or by setting aside some of the grass and plants to make room for the hearth.
If you have a patio or deck, consider moving it so it’s not right above the hearth. This will allow you to easily remove it when you’re done with it.
Use a tape measure or a yardstick to make sure you have enough space. There are different sizes of hearth and it’s best to make sure you have enough room for your hearth to fit.
It’s also a good idea to leave a little extra room around the edges of the fireplace so you can work around it. This will help make your hearth look more natural when it’s installed on your patio.
To level the ground, you can use a shovel, a wheelbarrow filled with rocks, or a hand trowel.
Step Two: Lay the Formwork
You’ll start by laying out your formwork. The formwork is the framework that supports the concrete while it’s drying. You can get cement formwork at your local hardware store.
Cement formwork comes in different sizes depending on the dimensions of your fireplace. You’ll want to use the appropriate formwork for the dimensions. The formwork also includes spacers that will help keep the concrete from touching the edges.
Use a tape measure to make sure you have enough formwork to completely cover your concrete pad. You can use the spacers to help space the concrete evenly on your pad.
Step Three: Cap the Formwork
Once your fireplace is laid out and the formwork is in place, it’s time to cap the formwork.
The purpose of the cap is to keep the material from touching the ground while it dries and hardens. There are different types of concrete caps. Some have designs etched into them while others are plain.
It’s up to you what design you’d like to go with so make sure you choose one appropriately.
Step Four: Set the Forms

Now that your fireside is laid out and properly leveled, it’s time to set the forms.
A concrete pad is a flat surface that’s used to support the formwork and concrete. The concrete itself is placed on top of the pad.
You can also use a self-leveling concrete form but this will cost you more money and may not be necessary depending on the size of your pad.
You’ll want to make sure your forms are level with each other. Use a tape measure to ensure you have enough forms to cover your pad. Leave a little extra room around the edges of the forms to help make them look more natural when you install them on your patio.
Step Five: Compact the Concrete
After your forms are laid out, they need to be compacted.
A compacted concrete pad is a pad that’s been pressed against a form to help eliminate any air pockets that may cause your material to crack.
You can also use a simple hand tamper. Place it on top of the compacted concrete and press down on the material with your foot to compact it. Repeat this process until it is completely compacted.
Step Six: Finish the Hearth

A finish is what gives your hearth its color and helps give it a shine. There are many different types of finishes you can use but the two most popular are Portland cement stucco and concrete paint.
You can use either one of these finishes on your hearth. Portland cement stucco is a clay-like material that comes in a variety of colors. It’s available in both bagged and bulk form.
The paint is a liquid made from the mineral dye that can be mixed with water to create any shade you like.
Step Seven: Seal and Finish
A seal is a thin layer of material applied to the concrete to help keep it from oxidizing, cracks from forming, and keeps it from deteriorating from the sun. Different types of sealers are available for both concrete and stucco sealers.
Different types of sealers range from chip seals to crack seals to epoxy seals to polyurethane seals. Once you pick your sealer, make sure you follow the instructions on the can and take care of your fireside after it’s installed.
You can also use a concrete primer to help seal your hearth before you apply your paint.
Conclusion
If you’ve ever wanted to build your own cozy little concrete hearth, you’re in luck. With a little bit of research, a few tools, and a little patience, you can build a beautiful, functional, and sustainable hearth right in your own backyard. Follow the above steps for an amazing result.
References
- https://homesteady.com/13402184/how-to-build-a-floating-hearth
- https://www.instructables.com/GFRC-Floating-Concrete-Hearth-for-Concrete-Wood-Fi/

Hi, my name’s Eugene Duke and I love sitting by my fireplace reading a book and sipping on an adult beverage. Do you have a fireplace in your house? I’ll help you figure out the best type and style of fireplace for your home.


