Here are the steps to repair chimney flashing:
- Remove the current chimney flashing and shingles surrounding the chimney.
- Install the base flashing around the base of your chimney.
- Install step flashing and shingles to redirect water away from the chimney and roof.
- Install front flashing, back flashing, and side flashing.
- Install counter flashing.
- Caulk to create a waterproof seal.
I had just moved into my beautiful New England summer home, and I was so excited to spend my weekends relaxing in the picturesque countryside.
I quickly realized, however, that there were a few repairs that needed to be made before I could really enjoy myself.
One of these was the chimney flashing – I soon began to notice water dripping down the walls every time it rained!
I wasn’t sure whether I needed to repair the flashing or if it was something else, so I reached out to a few professionals for help.
It turns out that most chimneys’ locations make it difficult to notice water damage until it has penetrated further into your roofing – if it damages the roof flashing, there may be constant moisture in your attic or ceiling which can lead to wood rot and drywall damage.
Thankfully, the professionals I spoke with were able to come and fix the issue relatively quickly and for a relatively low price.
Now I can relax in my summer home worry-free, knowing that my chimney is in good shape!
Contents
OK, so how do I actually repair it?
Chimney flashing is a segment of roofing that is used to cover the interface of roofing and chimneys.
It usually is made with asphalt shingles, standing seam panels, different metals, or even PVC pipe.
The objective of the repair flashing is to seal the crack between the chimney and roofing.
The most common cause of flashing failure is caused by water. This can be caused by a roof leak or weathering (usually sees wavy lines on the roof where it is covered with moss).
It’s very important that the chimney flashing be replaced as soon as possible so that moisture doesn’t penetrate and cause rust damage to your roof shingles (and eventually may lead to damage to your entire roof).
Materials
Before starting this project, ensure you have all the materials needed for the job. The materials you will need include:
- a large bucket of warm water (preferably in your garage with the door closed)
- sandpaper, grits # 150-200, 200-400, 400-600 and 600-1000.
- an old or worn-out pair of pliers. (You can use a pair of scissors to cut the metal material)
How to repair chimney flashing
Step 1
Clean the damaged area and inspect it. Remove all traces of old shingles, and use sandpaper to smooth down the edges.
Scrub the area clean of debris and nails with a wire brush, then take your pliers (or scissors) and cut out loose material at the edges.
Step 2
Working from bottom to top, apply a layer of butyl putty in a continuous strip over the chimney flashing where you want it to be re-attached.
If you have a wide crack between the chimney and roof, apply one butyl strip at each end. This can be a single row of butyl over the entire crack length or two to three rows at each end for larger cracks.
When finishing on top, overlap with the next row and cut through both layers of putty to attach your flashing directly to the chimney flashing.
If you prefer to use a different sealant (such as tar), it’s recommended that you tape off the area with blue painter’s tape or duct to avoid getting any glue on surrounding shingles.
Step 3
Pre-cut and apply strips of butyl along the first flashing course over the crack, allowing for a 1/2″ overlap. Allow the overlapping strip to cover approximately 4″ of the vertical wall surface.
Continue to apply rows of butyl up the wall, overlapping each previous row and allowing each new layer of butyl to cover approximately 4″ of vertical wall surface until all rows have been applied.
Step 4
Once the butyl has hardened, sand off the excess sealant or any residue around the perimeter of the repaired area with a course # 600-grit paper and vacuum away.
Step 5
Apply a coat of white latex paint to the chimney flashing where the original shingles were removed.
Step 6
Remove the butyl material with your old pliers or scissors and discard it. Clean up any excess sealant or residue around the chimney flashing with a putty knife or a razor blade.
Step 7
Clean the chimney flashing and inspect it to determine whether there are any other damaged areas that need repair. If so, make all necessary repairs before re-installing your new flashing.
Step 8
Inspect the new flashing for any damage, such as cracks, and make any necessary repairs using your butyl putty. Apply a coat of white latex paint to the new flashing once repairs have been made and allow it to dry before installing it.
Step 9
Install your new flashing with roofing nails or cement, ensuring you have one continuous piece of metal around the entire chimney. Work quickly because you don’t want it to cure before using it.
Step 10
Finish nails with a hammer (or roofing cement with a putty knife) and wipe off the excess material with a wire brush or vacuum. To finish, apply a coat of white latex paint to the new flashing where the original shingles were removed.
Step 11
Once everything has dried, apply butyl tape along the entire length of your repaired area and allow it to dry for approximately 12 hours before adding shingles or other roofing materials to cover it up.
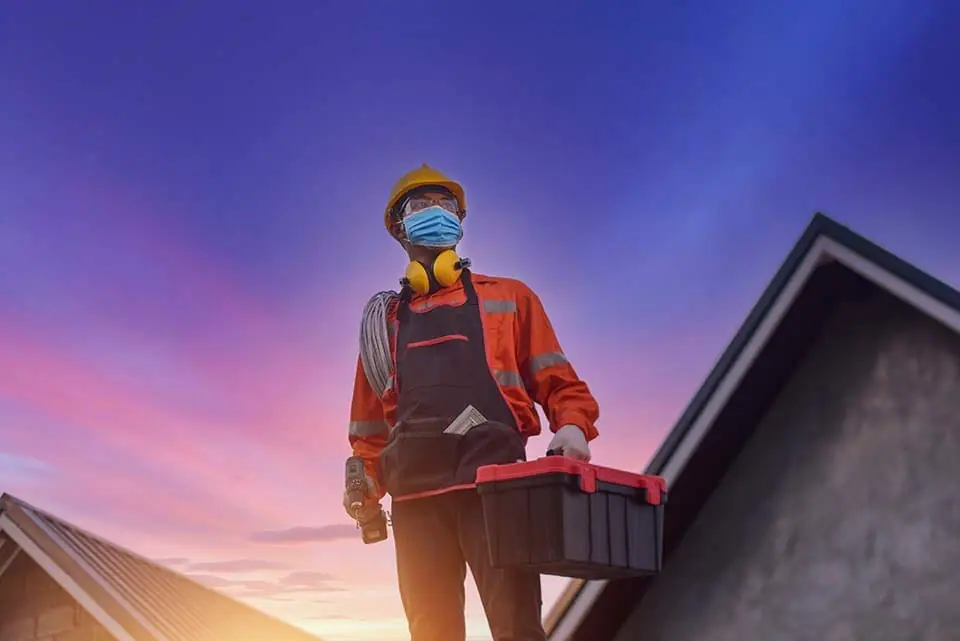
DIY or hire a pro?
The best way to know when to hire out chimney flashing repair or DIY it is to examine the extent of the damage. If the damage is minor, then you may be able to fix it yourself. However, if the damage is more extensive, then you should hire a professional to do the job.
Conclusion
Follow these 11 steps, and your chimney flashing will be repaired just in time for the winter rains. And best of all, you’ll have saved some money by doing it yourself.

Hi, my name’s Eugene Duke and I love sitting by my fireplace reading a book and sipping on an adult beverage. Do you have a fireplace in your house? I’ll help you figure out the best type and style of fireplace for your home.