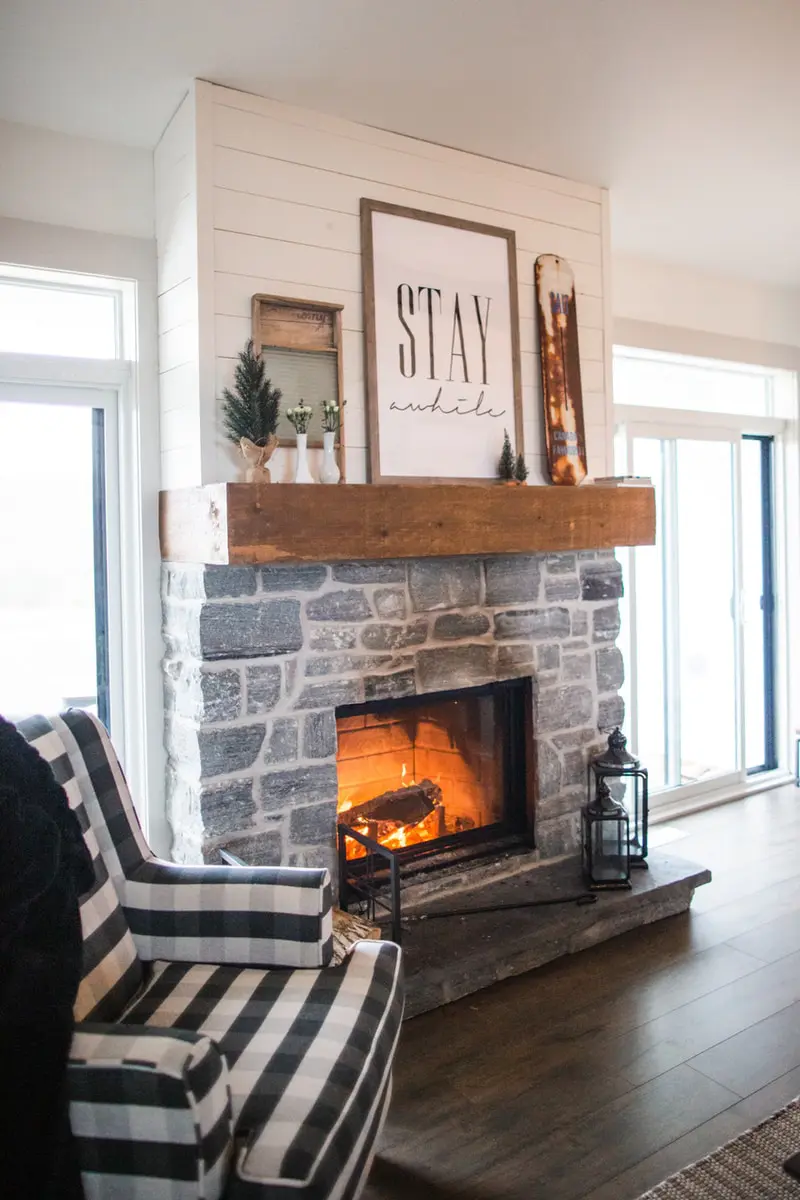
This post is going to show you how easy it is to build a fireplace surround.
Here is a simple way to do it! You might also need to sand certain surfaces to achieve a smoother outcome. However, you don’t need any sanding equipment because the sandpaper will suffice.
If your fireplace has four sides, it is easier to measure and cut all the components at once instead of measuring and cutting them one by one.
The key to building a fireplace surround is good planning ahead of time.
You can look at pictures of different designs or ideas on the Internet and even check out different types of surrounds in your local hardware stores, or on Pinterest.
You can add a DIY surround to a gas fireplace, a wood-burning fireplace, and even an electric fireplace.
In this article, you will find out how to build a fireplace surround. All the materials are readily available and can be found at any hardware store. You also don’t need many tools for this project.
Contents
- Video Guide: How to build a fireplace surround + mantle
- Building a Fireplace Surround: Tips & Steps
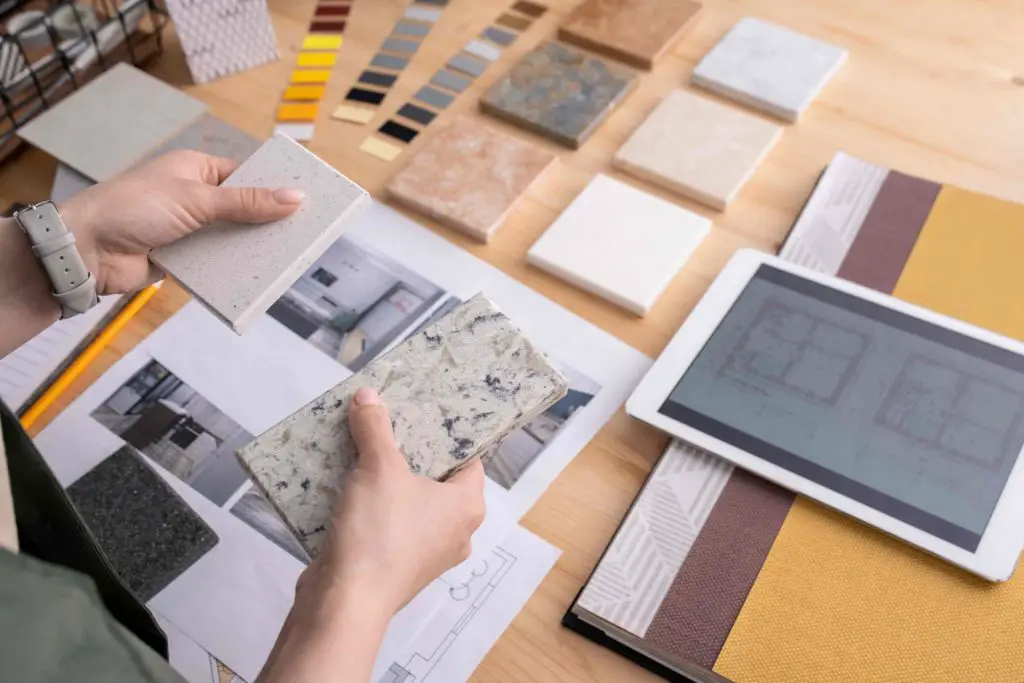
- Step 1: Decide on the Design
- Step 2: Materials Used
- Step 3: Designing the Surround
- Step 4: Preparing for Installation
- Step 5: Installing Wall Tile
- Step 6: Installing Hearth Tile
- Step 7: Installation of Trim Pieces
- Step 8: Quality Assurance
- FAQS
- Q: What are the critical elements of a fireplace surround?
- Q: Where can I get more design inspiration?
- Q: What materials can I use when building it?
- Q: What are the steps involved in building a stone fireplace?
- Q: What tools do I need to build a fireplace surround?
- Conclusion
Video Guide: How to build a fireplace surround + mantle
If you want some step-by-step instructions, try these below adapted from this Instructables plan.
Building a Fireplace Surround: Tips & Steps

Step 1: Decide on the Design
Decide what style you want. You can purchase a premade one or custom-make it to your specifications. If you have decided to make a surround, keep reading this article for instructions and tips on building a fireplace surround.
Step 2: Materials Used
The materials you need to build a fireplace surround include wood, screws, masonry nails, silicone caulk sealant, grout mix, tile backer board (optional), spacers, diamond drill bit (for tiling), a tile saw (optional for tiling), hammer or mallet and chisel. These are just some of the materials you may need to build a fireplace surround. Be sure to have all of them before starting the project.
Step 3: Designing the Surround
You can design your surround or use plans available in books or on the Internet. When designing your own, make sure you pay close attention to measurements and angles. Also, be careful not to make it taller than the height of the surrounding walls.
Step 4: Preparing for Installation
Cover the floor below it with tarpaulin or heavy plastic sheeting when you are ready to begin installing. This will protect it from spills when you are working on it. Also, if there is a lot of dust in the room, keep all doors closed to contain it. Then, prepare the materials that you need for building a fireplace surround.
Step 5: Installing Wall Tile
Now install tile on the walls of your fireplace if you are using tile. If you are not using tile, skip this step and go to Step 6. To install wall tile, first mark where you want to put the tile on the walls. This is important so that your tiles will not be crooked. Then apply tile adhesive or grout mixture onto 1/3 of the area of one wall.
Then place the tile spacers to leave an even gap between them and set each tile into it. Do this for each tile, ensuring that they are level. After placing the spacers and setting the tiles, apply them with more adhesive or grout mixture.
Once your adhesive is dry according to the manufacturer’s instructions (usually up to 24 hours), it is time to remove the spacers using a putty knife or flat screwdriver. Be careful not to scratch the tiles. Once all of the spacers have been removed, let the grout set according to the manufacturer’s instructions (usually up to 24 hours).
Step 6: Installing Hearth Tile
To install hearth tile, first, you need to clean off the area where it will be installed using a damp rag. Then apply adhesive or grout mixture and set the tiles. Then use a putty knife or flat screwdriver to remove the spacers, making sure not to scratch the hearth tile.
Once all of the spacers have been removed, let the grout set according to the manufacturer’s instructions (usually up to 24 hours). After it has had time to dry, apply silicone caulk sealant to the area where the hearth and fireplace meet.
Step 7: Installation of Trim Pieces
To install trim pieces, first determine how high you want them to be. After doing that, attach them using wood screws or masonry nails. Then caulk around the edges of the trim pieces with silicone sealant.
Step 8: Quality Assurance
Before you call it a day on your project, test it out to ensure everything works right and that nothing was damaged while working on it. After doing this, clean up and put away your tools and materials and enjoy your fireplace surround!
FAQS
Q: What are the critical elements of a fireplace surround?
A: The three main elements are the face, mantel on top, and hearth in front. You may also want to add some storage place on one side if you have room for it.
Q: Where can I get more design inspiration?
A: You can get ideas from magazines, online at sites like Pinterest, or in books at your local library. An excellent place to start is by searching the Internet for fireplaces and looking at different ones.
Q: What materials can I use when building it?
A: The most commonly used material is wood such as MDF, plywood and hardboard. Another material is brick, which can be used on both interior and exterior areas of a fireplace.
Q: What are the steps involved in building a stone fireplace?
A: The first step is digging out about two feet from below ground level, so you have room to stack the rocks you want to use. Then you can lay them out as they would be in the final project and check to make sure everything fits as planned. The next step is to pour a cement base behind the rocks, sturdy and levelled, then stack them with mortar to stay together. After the mortar is dry, you can paint it with a sealer, and you will be finished building the stone fireplace surround.
Q: What tools do I need to build a fireplace surround?
A: You will need a hammer, saw, measuring tape, and level. You may also find it helpful to have an electric drill and screwdriver because this helps when putting your pieces together in the final step.
Conclusion
Building a surround can be a tricky task. However, we believe it will be easy, and you will be done in time with the above steps. Make the Internet your friend for ideas on how to build it, and you will come up with a plan that you will love. All the best as you improve your fireplace.

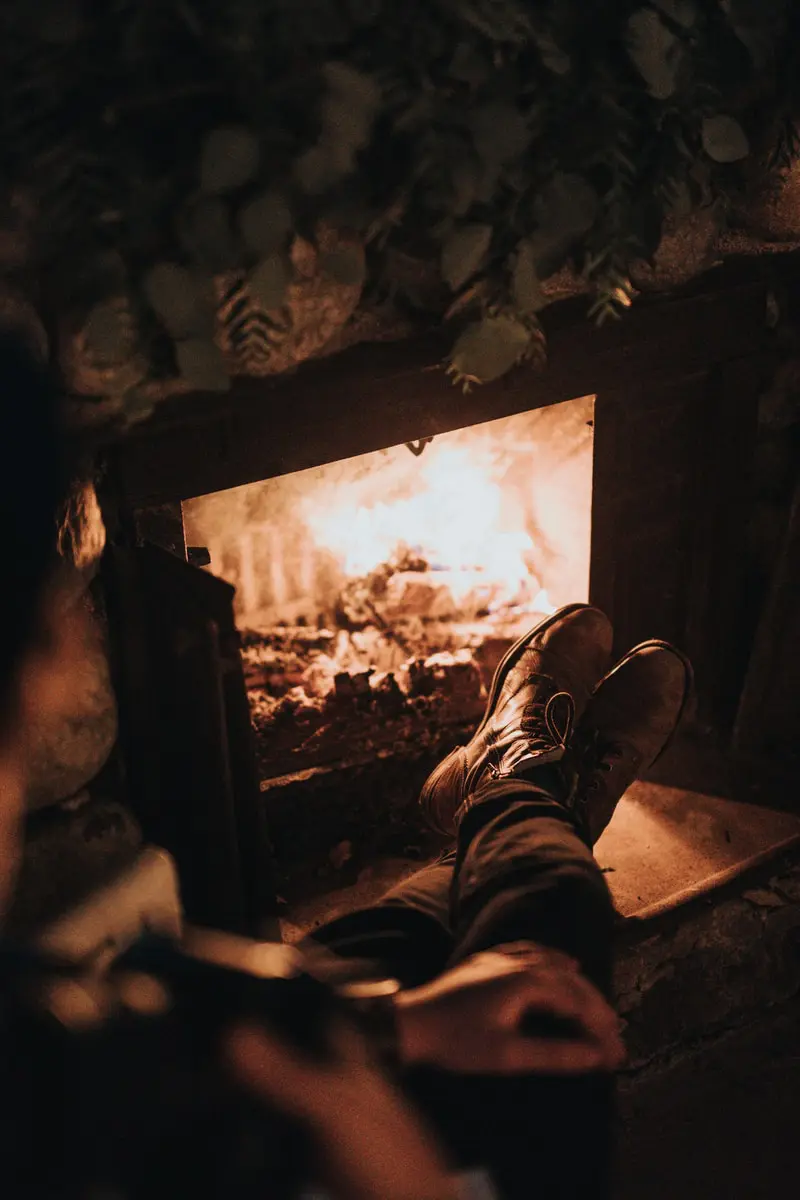
Hi, my name’s Eugene Duke and I love sitting by my fireplace reading a book and sipping on an adult beverage. Do you have a fireplace in your house? I’ll help you figure out the best type and style of fireplace for your home.