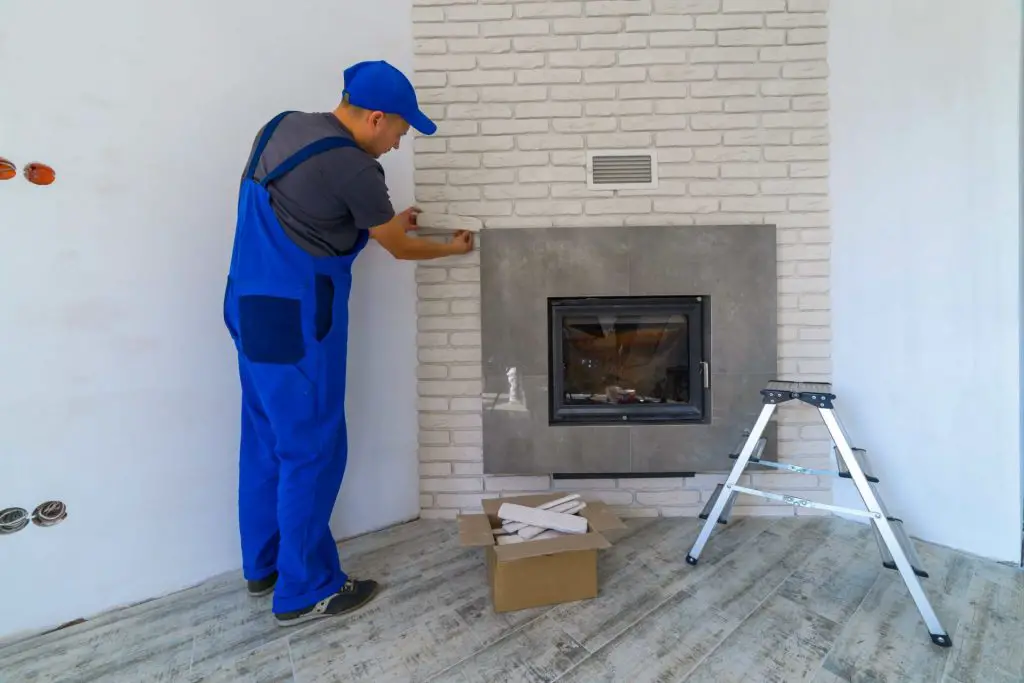
A fireplace can be a beautiful centerpiece for any room in your home. If you have a traditional wood burning fireplace, instead of converting it to a gas insert, you might want to modernize the brick look a bit with a simple renovation.
There are many different materials that you can use to fill the space around your fireplace. You can use tile, brick, or stone.
Tile fireplaces are not that common in older homes, but they are becoming more popular. The best thing about them is that they can be installed without any expensive remodeling- and you can even paint them.
It’s important to plan the design before you start tiling your fireplace because it will make the installation process much easier. You need to figure out how many tiles you need and which size of tile you want to use for the surround, baseboard, and crown.
If you are an absolute beginner then familiarize yourself with different parts of the fireplace, for example, the area where you will be applying the tiles is the surround and at the base, you have the hearth.
There could be tons of other things on your mind, so without further delay let’s get started.
Contents
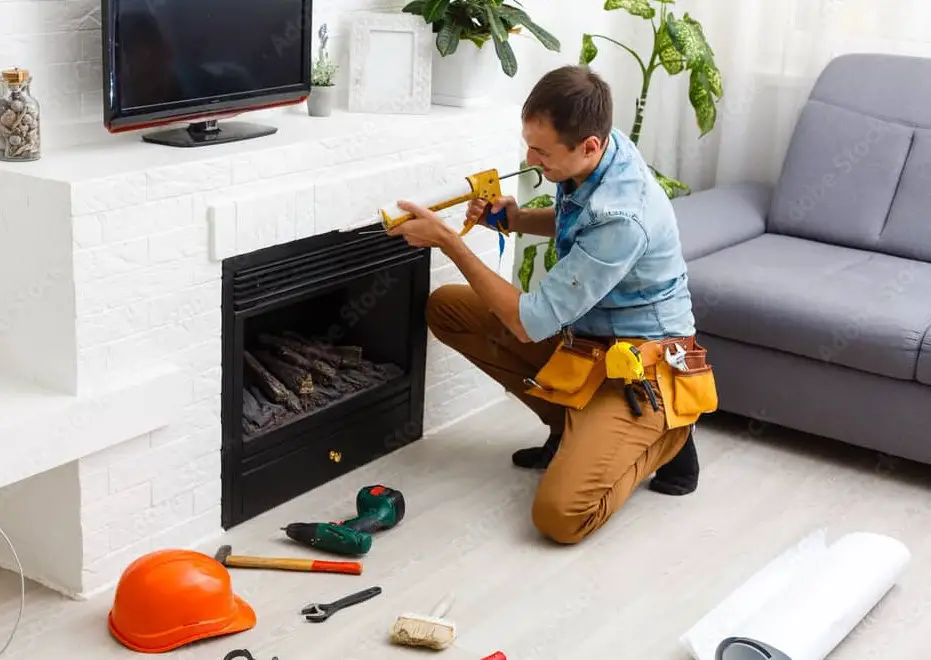
Things You’ll Need to Tile A Fireplace
In order to complete this project, you will need the following material:
- Mortar and water (mortar could be pre-mixed also!)
- Paddle mixer.
- Sponge.
- Level.
- Notch trowel.
- Carpenter square.
- Spacers.
- Buckets.
- Grout.
- New tiles.
- Oscillating tool, hammer, and chisel (for removing the old tiles).
- Wet saw for cutting.
Tiling A Fireplace Surrounds In 5 Easy Steps
You have to see what type of tiles will be suitable for your fireplace and mantle area- for example, some people may prefer marble options. Select the tiles and grout that complement each other. You may need to trim them so that they fit properly. Also, before starting this project you need to know what’s permissible according to your building codes.
Step 1:
It’s possible that there are already some tiles in the surrounding area of your fireplace and you need to replace these with the new ones. If that’s the case then start removing the tiles. Start cleaning the surface around the fireplace. Follow the safety instructions for this project. Protect your eyes by wearing safety goggles, do wear a mask, and also put gloves on your hand.
Step 2:
Using an oscillating tool, hammer, and chisel you can get rid of the pre-existing tiles in the surround of the fireplace. Smooth out the surface using coarse grit sandpaper. Make sure the surface is smooth. The surface area has to be clean so use a sponge for cleaning it and let it dry before starting the project.
Step 3:
At this point, you need to find the midpoint of the surround and mark a vertical line using a chalk line. Also, find the center point of the hearth by using the level and the carpenter square. Finding the right measurements can help you carry out the project successfully.
Step 4:
Prepare a mixture of water and mortar. You can follow the instructions of the product to get the correct ratios. Make sure you mix it thoroughly. Let it sit for 5 minutes and then you can start the application process. You can use a paddle mixer for mixing the mortar and water. The consistency can be like peanut butter. Make sure you clean it afterward as the mortar can harden on it. You can clean the paddle mixer in a bucket of clean water.
It’s also possible to get the mortar from the market that’s pre-mixed. It’s your choice, you can opt for what’s easily available for you. If you opt to prepare the mixture yourself then make sure you focus on the correct ratios.
Step 5:
Using a trowel, apply the mortar to the bottom side of the surround. Place the first tile in the center point and then move to the right. Use quarter-inch spacers when the tiles are set. Then follow the same process for the left side. Next, you have to move to the second row such that the new tile you place in the second row offsets half the width of the tile in the first row (brick pattern). Move to the right and then to the left. Follow the process until you reach the top side of the surround.
For the hearth, you can place the mortar on the hearth using the trowel and use the notched side of the trowel, and back butter the tiles for proper adhesion. Take advantage of the quarter-inch spacers. Follow the same process as followed for tiles on the surround.
Final Process:
The final process is to grout it. You have to grout them and wipe them clean with a sponge. Once it’s done, consider how you want to decorate the area.
Tips to Keep In Mind
Keep the following tips in mind for this project:
- Make sure you trim them as per your requirements. You can take the measurements of the fireplace and also see what type of tiles will go with the theme and ambiance of your place.
- You have to see what type of tiles are suitable for this project. You may use marbles or any other, but make sure it’s suitable to be used for the fireplace.
- Also, if you are attempting this project for the first time, you should know what the rules and regulations are in your area. For example, the rules are different when you are renting the house versus when you own it!
- Take the correct measurements before starting the project to save yourself from any hassle. Use the right tools for taking the measurements.
- A wet saw can help in cutting them.
- If you are an absolute beginner you may need to give some time to yourself to understand the entire process.
- In order to make the most of this project, it will be better to work in small sections.
- Clean the tiles using the wet sponge. When the mortar hardens, it will be hard to clean them.
- You can vacuum the seams to remove the mortar from the joints. The purpose of focusing on such details is to get a neat finish!
Final Words
Watching the Property Brothers and other amazing professionals, you may think of remodeling your house! You may want to start at the fireplace. If you are wondering how to tile a fireplace then you are in the right place. Be sure to read some of the other DIY remodeling articles- we’ll show you how to whitewash a fireplace and even how to paint a brick fireplace.
Tiling the fireplace is not everyone’s cup of tea, but it’s doable. You need to understand what tools are important and how to make the most of them. Plus, you can watch the online tutorials to make the process easy for you. Also, it never hurts to hire a professional if you have no clue about the entire project!

Hi, my name’s Eugene Duke and I love sitting by my fireplace reading a book and sipping on an adult beverage. Do you have a fireplace in your house? I’ll help you figure out the best type and style of fireplace for your home.